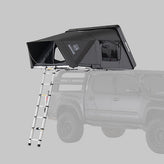
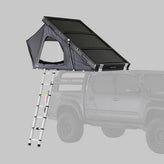
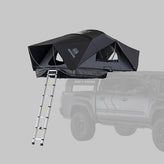
Customizing Your iKamper RTT Shell: Vinyl, Paint, and More
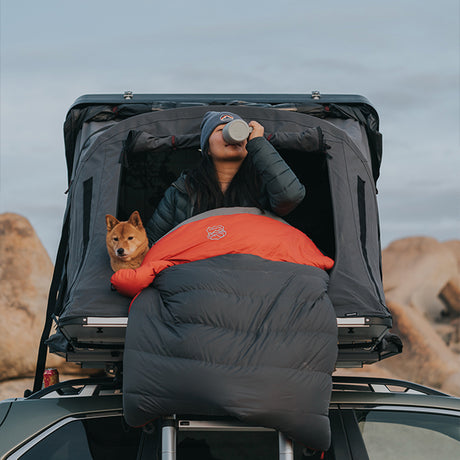
Bolting a roof top tent to your vehicle makes a statement. It tells people that you not only love a good adventure, but are committed to finding them frequently enough to significantly adapt your vehicle to meet your needs. You are all-in on a good time outdoors.
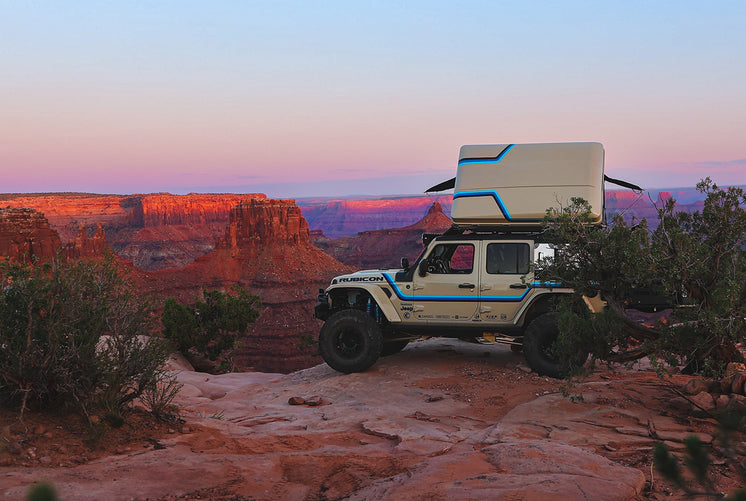
A nice perk that comes with that level of commitment is the opportunity to say even more by customizing the shell of your iKamper RTT. Whether it be a cool pattern just for fun, some custom artwork, a more integrated look with your vehicle or blending in with your favorite landscape, a custom roof top tent shell treatment can even protect your investment, while looking cool in the process.
In this guide, we’ll explore the most popular methods for changing the look of your RTT shell in rough order of complexity and cost, and offer some thoughts and references that will help you zero in on the option that’s right for you. A quick internet search and “YouTube University” will result in no shortage of solid tutorials to accomplish most of these methods, but mostly on vehicles. Just remember that your iKamper RTT shell will be much easier and less expensive than a whole vehicle, so take all the warnings and precautions with a grain of salt.
It's also worth noting one thing before we begin: customizing your RTT shell will void any warranty claims on the shell itself. While the rest of your tent will still be covered, there’s just no way to know for sure what you did, or how well (or poorly) you did it, so it’s a one-way street to independence as far as the shell’s warranty goes. However, just do a good job and you’ll likely be fine or even better off since all of these suggestions will actually protect your shell.
With that out of the way, let’s dive in and get you started down the path to finding the best way to customize your RTT shell.


Option #1: Vinyl Wrapping
This may be the least expensive and least permanent option on the list, meaning it can be a great option if you’re just not sure what direction to go, or want to make multiple changes over the years. The options are too broad to list, but include hundreds of off-the-shelf colors, prints, and even the ability to transfer custom art to the vinyl wrap.
The downside to a vinyl wrap is the challenge of doing it yourself. If you took your RTT to a pro shop for wrapping, this will likely no longer be the least expensive option, as the labor and skill that you’ll pay for can easily double the expense. However, your RTT shell has some pretty straight lines, and most curves run the length of the shell, meaning they can be covered with long strips if you’re worried about bubbles on bigger pieces. However you do it, if you choose to DIY, break out those meditation beads, and breathe deeply. The trick to a good vinyl wrap is a bucket of patience, a partner to do it with, and a really good plan before you start. If you’re a master of your emotions and can remain calm and calculated throughout the process, a DIY wrap is definitely in your wheelhouse.
Pros:
- Inexpensive
- Straightforward
- No fancy tools required
- Removable
- Protects original surface
Cons:
- Tedious
- Requires precision and a cool head
- The lifespan of a tent is short (3-5 years). It varies with the quality of the material and how much UV it is exposed to.
Resources to start with:
https://www.vinylfrog.com/blogs/car-wrap-tips/diy-car-wrap
https://www.youtube.com/watch?v=CDuxHNuHJxg


Option #2: Plasti Dip
You’ve seen them. Those rad-looking, flat/matte paint jobs on vehicles–they look part Mad Max and yet finely finished. It’s a pretty cool combination, and you’re seeing more of them all the time. Well, that’s because it’s an inexpensive and easy DIY project, resulting in a professional-looking finish that could be done in a day.
Plasti Dip is a coating, more than a paint. It’s like spraying a thin, peelable, rubberized coating onto whatever you choose. An entire kit, including all the tools and all of the materials you’ll need (except masking supplies), can be had for under $500 and even includes a quality paint sprayer for application. Honestly, this rivals vinyl in cost but is far easier to apply. You can even give it a gloss top coat if you like, but why ruin the cool looks of a raw dip?
Application is as easy as cleaning the surface, masking parts you don’t want to spray (hinges, latches, mounting hardware), then spraying it on. Up to six coats are recommended for easier peeling when it’s time to replace or change, but with only 15-30 minutes of dry time between coats, an RTT could be completely done in no time at all.
Pros:
- Easy–you might say even hard to mess up
- Inexpensive
- Fast
- Peelable
- Protects original surface
- Retouchable
Cons:
- Noxious–must be done outside or in a paint booth. A good mask is recommended either way.
- Check local regulations: Not available in all states.
- Only lasts about five years
- Requires multiple coats for best performance
Resources to start with:
https://explorist.life/full-body-plastidip-diy-sprinter-campervan/
https://www.dipyourcar.com/


Option #3: Custom Painting: A Permanent Solution
If you’re looking for a more permanent solution, a high-gloss finish, or to hire an artist to paint your roof top tent shell, custom painting is the way to go. It can give your RTT a great-looking, durable finish that will last for years. However, it’s a more involved process than vinyl wrapping, and simply put, achieving a pro look might require hiring a pro, which definitely makes it more expensive. Painting is a one-way street for the original finish on your RTT since it requires sanding the surface to prep, but on the upside, it should also last the lifetime of your tent.
If you took the rattle can approach, this could be the cheapest option, but let’s face it, it will look cheap too. On the other end of the spectrum is hiring your favorite local artist to add some serious flair. However, if you have access to a nice paint sprayer, know how to use it with automotive paints, and take the time for prep, primer, base coat and finish coat, your RTT should come out looking great.
Pros:
- A permanent solution for the long haul
- Great looks (if done well)
Cons:
- It’s permanent, so you need to like it
- Can be expensive – Pro help recommended
- Multi-step process
- Noxious – Best done in an enclosed, ventilated space (so you don’t end up painting your neighbor’s car) with protective gear.


Option #4: Hydro-Dipping
You’ve likely seen people on social media hydro-dipping ball caps, shoes, and all manner of small, personal items. It’s become a real “thing,” for DIY’ers, but the quality of the dip will vary with the experience of the dipper and quality of the materials.
Hydro-dipping is similar to getting a custom paint job, but the “paint” is applied by floating a thin film of PVA (polyvinyl alcohol) paint (some DIY’ers even use spray paint) in a water bath and then dipping the object. The film dissolves in the water, allowing the paint to flow around any contour or shape, resulting in a perfect transfer of the art to whatever was dipped – assuming you did it correctly. It can be a pattern that was created on the spot with certain paints or off-the-shelf patterns like carbon fiber, camo, or wood grain that are used broadly in the firearm and automotive industries.
It's no small feat to attempt this with a RTT shell and we've never seen it done. That said, a good hydro-dip looks great and is a relatively fast and permanent process once you have all that you need. If you're ambitious enough to try this out, we want to see the pictures!
Pros:
- Permanent
- Basic process
- Allows quick transfer of complex art and patterns to 3D objects
- Highly customizable
Cons:
- Permanent
- Easy to mess-up
- You probably need to hire someone
Other Considerations
Before you dive into any of these methods, consider the following:
- Professional Help: While DIY is possible for most methods, custom painting and hydro-dipping often yield better results when done by a professional. Consider your skill level and the complexity of the job before deciding to tackle it yourself, and try your hand at some smaller projects first.
- Maintenance: After you’ve changed the color, regular maintenance is key to keeping it looking its best. This includes cleaning, touch-ups, and possibly reapplying protective coatings.
Changing the color of your iKamper RTT shell is a great way to personalize your camping setup and make it uniquely yours. Whether you opt for a non-permanent vinyl wrap, a durable custom paint job, a flexible Plasti Dip, or a unique hydro-dipped design, each method offers its own set of benefits. All will void your tent shell’s warranty, so put some real thought into it and be honest about your DIY skillset. Then choose the one that best fits your needs, skill level, and desired outcome, and enjoy the fresh new look of your rooftop tent on your next adventure!


